Whether you’re looking to tell a story about your brand or simply looking to make your clothes uniquely ‘you,’ there are few better ways to do so than with a custom-made t-shirt. Our Design Studio Software is one of the most powerful tools at your disposal if you’re looking for custom-printed gear – and you can use it to customize a lot more than just clothes, too.
It’s simple to use, too. Allow us to show you exactly what we mean. We’re going to walk you through the process involved in creating a custom t-shirt, from start to finish.
Let’s begin.
Step One: Deciding What You Want To Customize
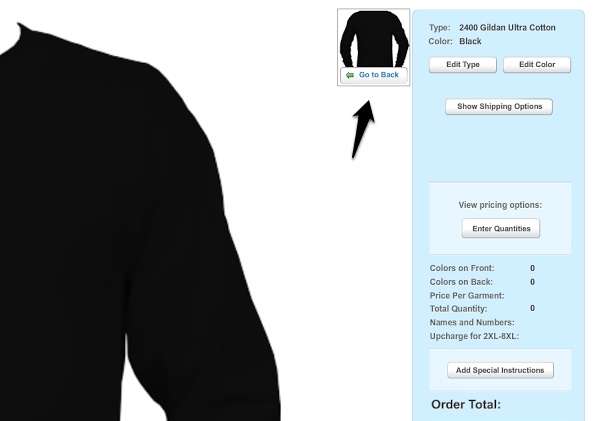
First thing’s first, click on “Edit Type” up in the top right corner. That’ll bring you to a list of T-shirts, sweaters, shorts, and other accessories.
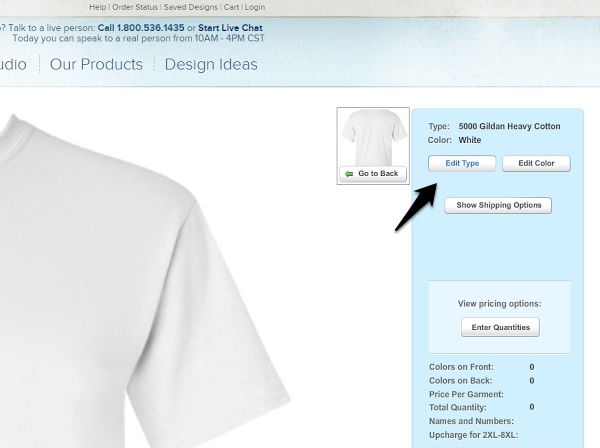
We want something that can be worn comfortably at any time of year – let’s make a long-sleeved shirt.
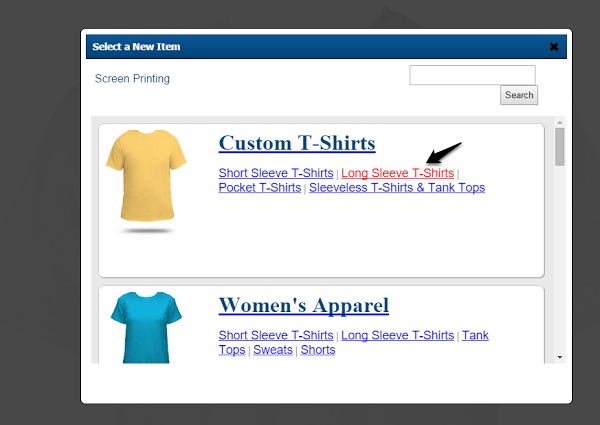
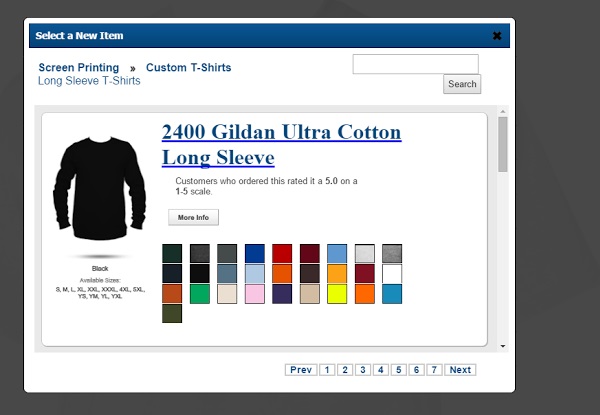
Choosing a clothing style will bring you to another page with a list of the different types we offer. Let’s choose a 2400 Gildan Ultra Cotton, and color it black.
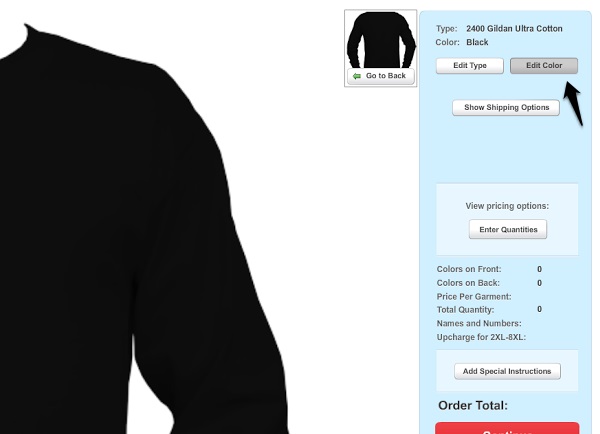
Now we’re back in the Design Studio, and ready to start creating! Note that you can also change the color of your product at any time after you’ve selected it, with the “Edit Color” button.
Step Two: Custom Text and Text Effects
Now that we’ve settled on a style and type, let’s take a look at some of the things we can do with our new shirt. For the design we have in mind, we want to add some text to the back of the shirt. Click on “Go To Back” to display the back of the shirt.
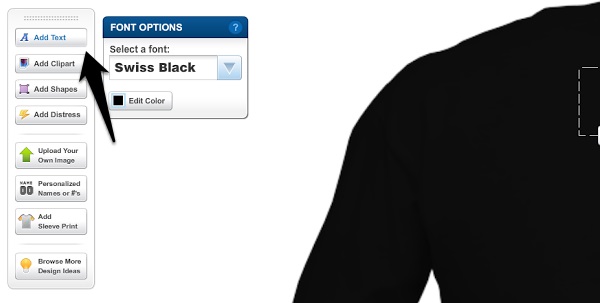
Click “Add Text” in the sidebar on the left, and a textbox will appear.
Type whatever you want into the box, then click “Done.” This will present you with a bunch of options that let you customize shape, positioning, and text effects.
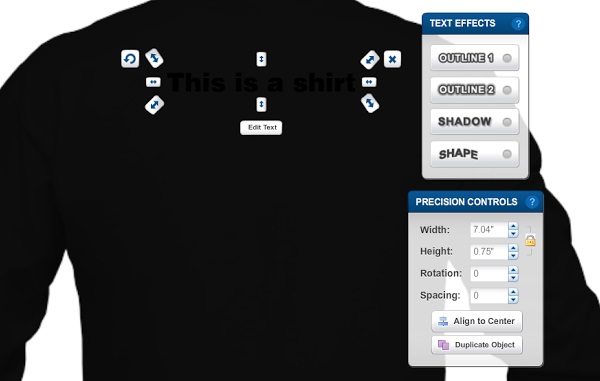
Black on Black is a bit hard to read, isn’t it? Let’s add an outline.
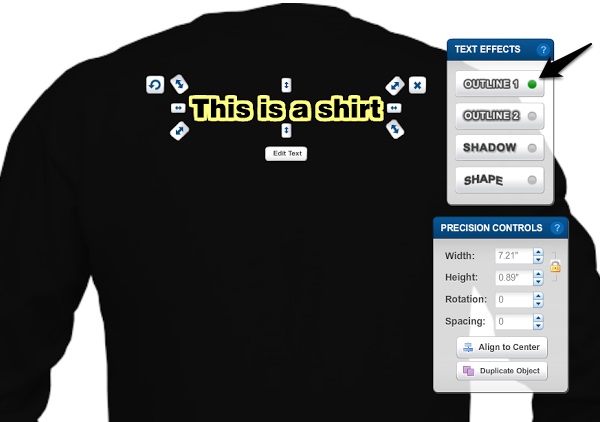
You can also customize the color and thickness of the outline in the toolbar that pops up on the left.
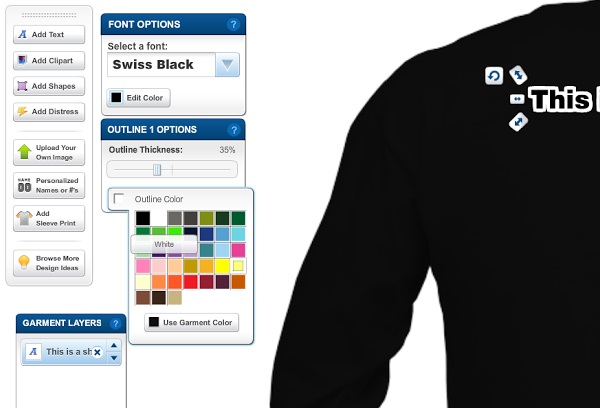
Let’s add a shadow to the text. Notice how you can reposition the shadow at any time by dragging the light bulb. It looks pretty good as it is, so let’s change the size and shape of the text, instead.
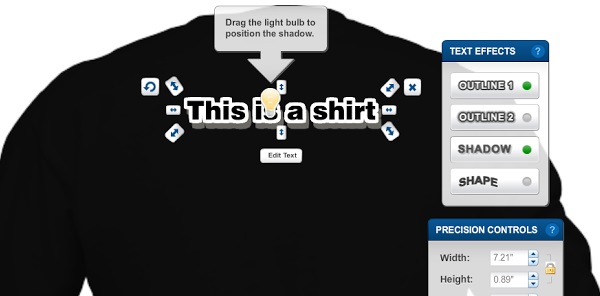
You’ve probably noticed the arrows surrounding the text entry box – they allow to you resize your text however you see fit. The arrows on the top stretch it vertically, the ones on the sides stretch it horizontally, and the ones on the corners stretch it in both directions at once. You can also rotate your text with the circular arrow on the top left, but we’re not going to bother with that for now.
Let’s make our text a little more noticeable, shall we?
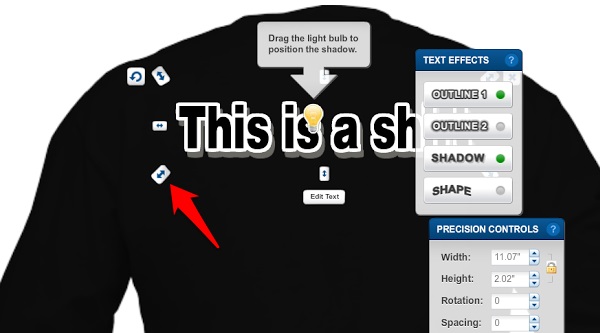
You can also click and drag the blue bar at the top of a toolbox to reposition it so it doesn’t block your view
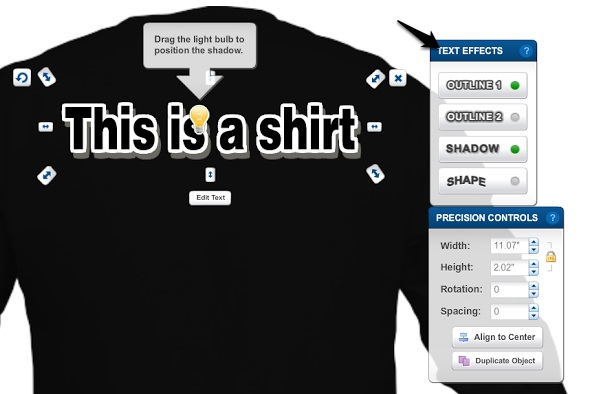
Looks good so far, but we want our text to be closer to the center of the shirt. Click on the text and drag it to change its position on the shirt.
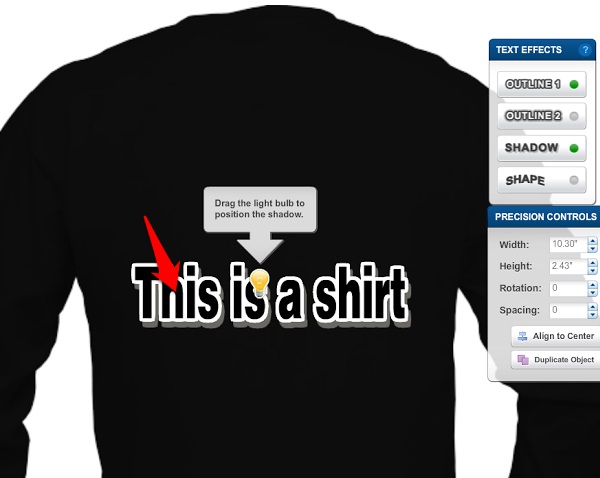
Next, let’s try applying a shape to the text. As you can see, there are several options to choose from, and each can be adjusted using the slider.
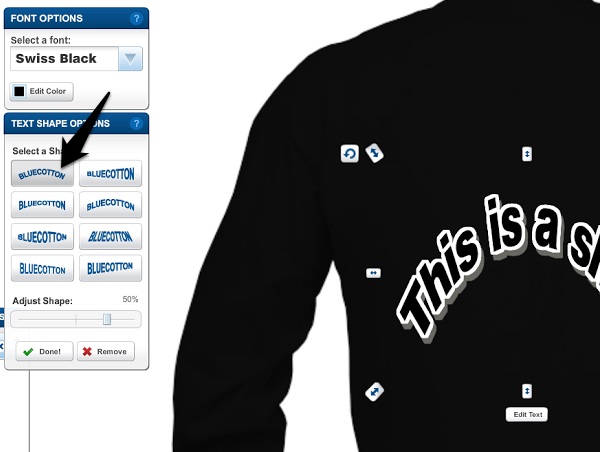
Nice! That one looks pretty good – click “Done!” to finalize your shape.
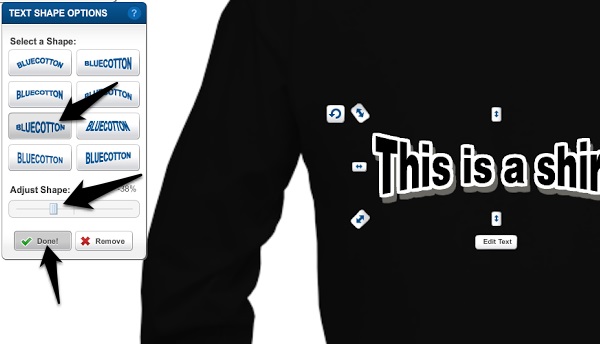
Hmm. There’s something about that font that doesn’t really work, isn’t there? Let’s change how it looks. See the Font Options box to the left? Let’s click on it.
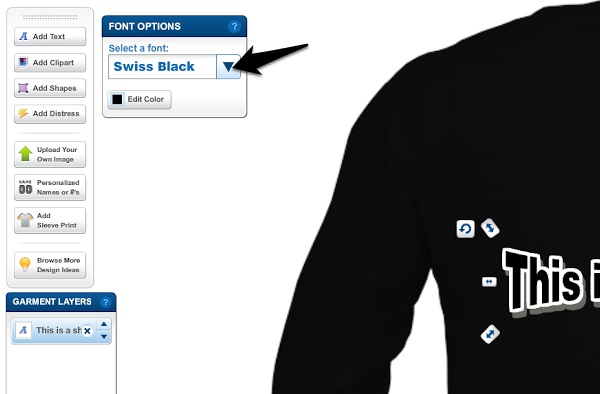
As you can see, our design studio has tons of different fonts to choose from.
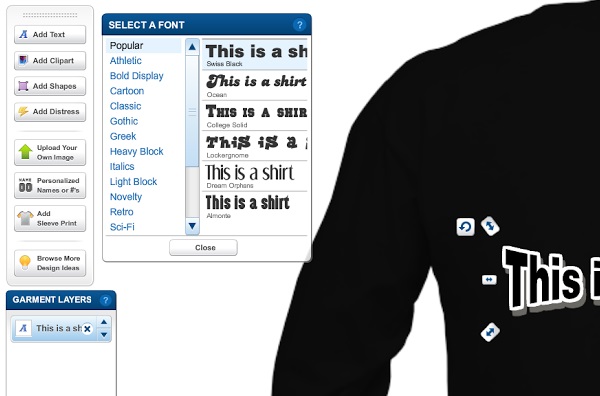
Lockergnome is one of the more popular fonts – let’s go with that.
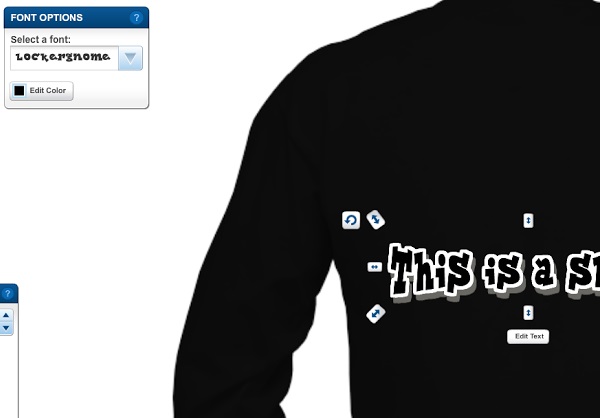
Hmm. Our font isn’t quite centered, is it? Let’s fix that with the Precision Controls. Note that you can also customize the spacing, size, and rotation of the font with this menu.
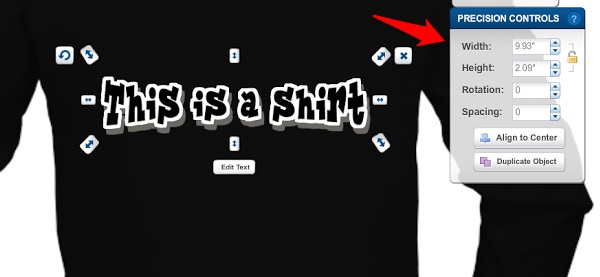
Step Three: Clipart, Shapes, and Distress
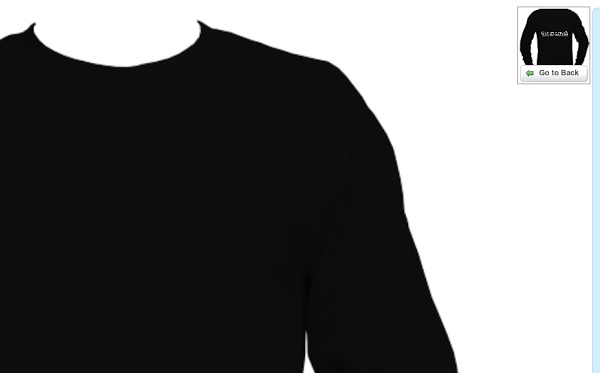
Now that we’ve added some text to the back of our shirt, let’s go back to the front. Click “Go To Front” to change the view again. Note how you can still see the changes you made to the back of the shirt.
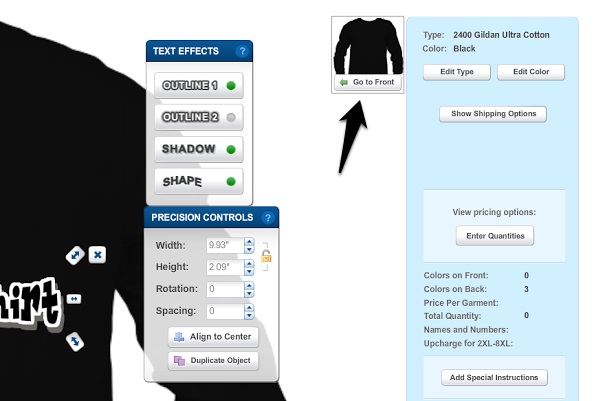
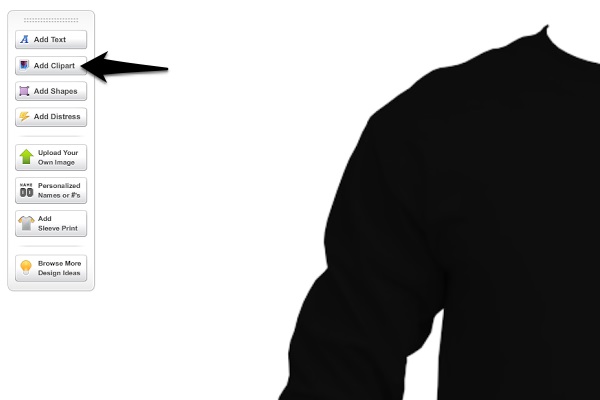
Now, let’s add a bit of clipart. Click on “Add Clipart” to open up the Clip Art Browser.
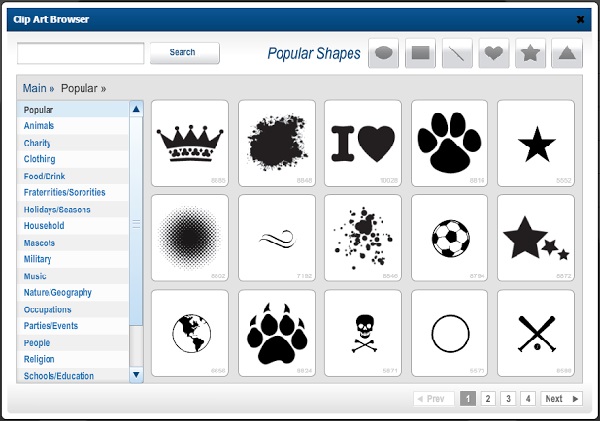
Let’s add some.
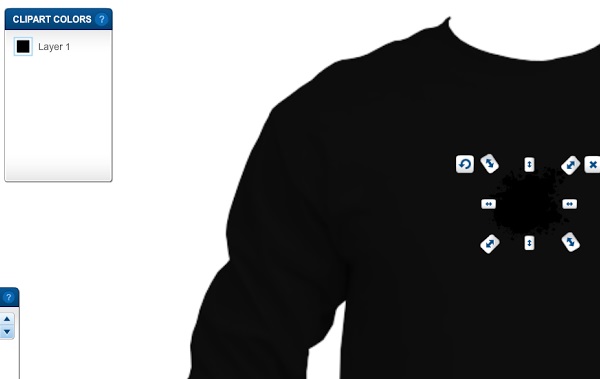
As you can see, you can customize your clipart the same way you could customize your text, by changing the color, size, and position. Let’s recolor our artwork.
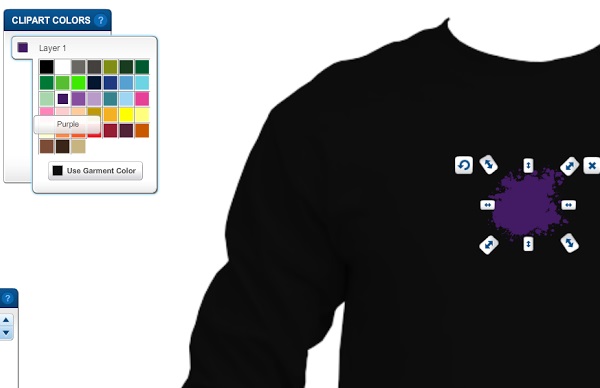
Now, let’s make it a little bigger.
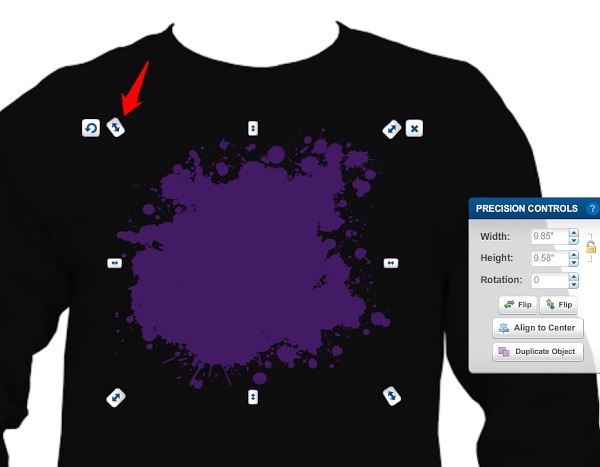
Much better! But the design’s still missing something….Let’s try adding a few shapes.
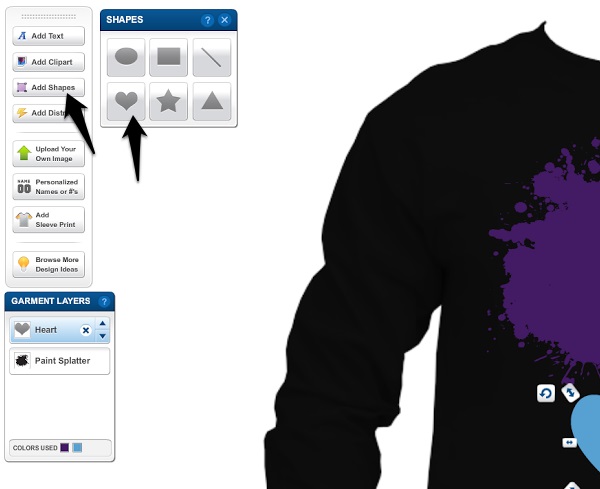
Remember, you can reposition decorative elements by clicking and dragging. Let’s put our heart at the center of our paint splatter.
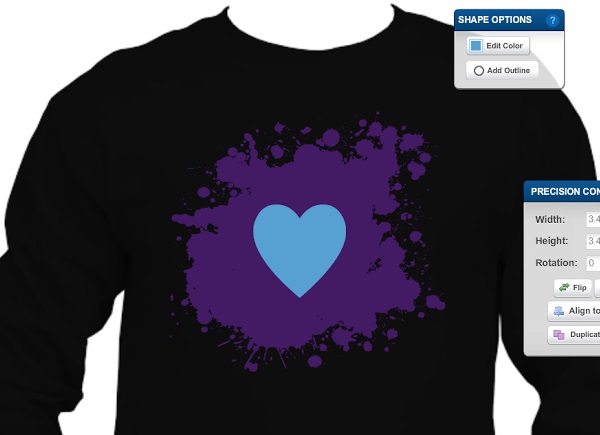
Our design’s shaping up pretty nicely, but it could use a bit of extra texture. Let’s click on “Add Distress.”
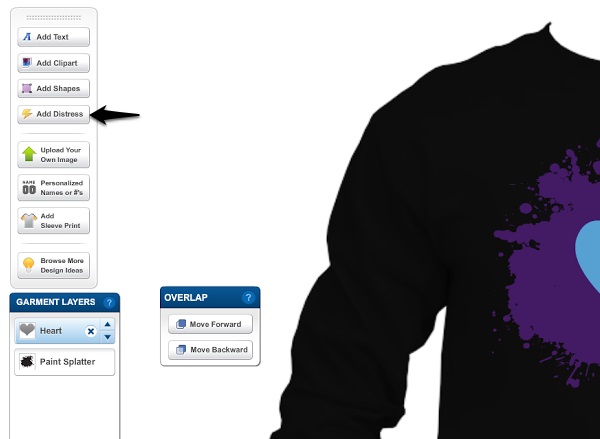
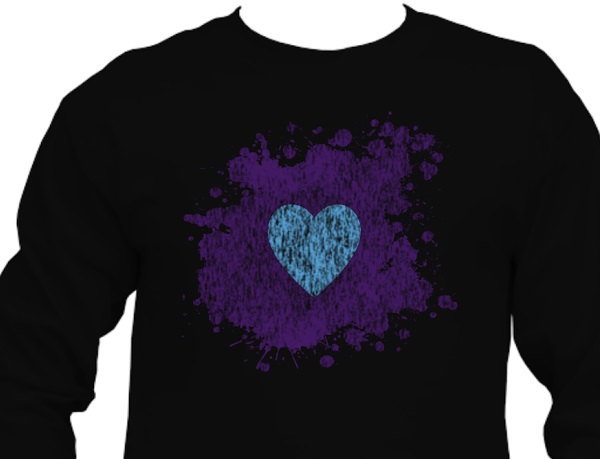
Nice!
Step Four: Uploading Your Own Images
The front of the shirt’s looking pretty good…but something’s still missing from the back. It just looks kind of…bland, doesn’t it? Let’s see if we can fix that with some artwork of our own.
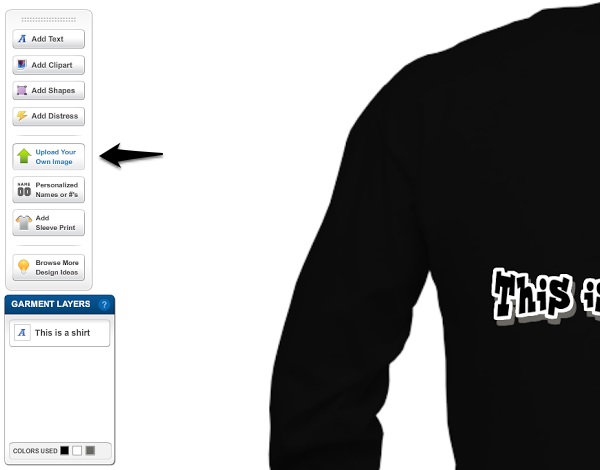
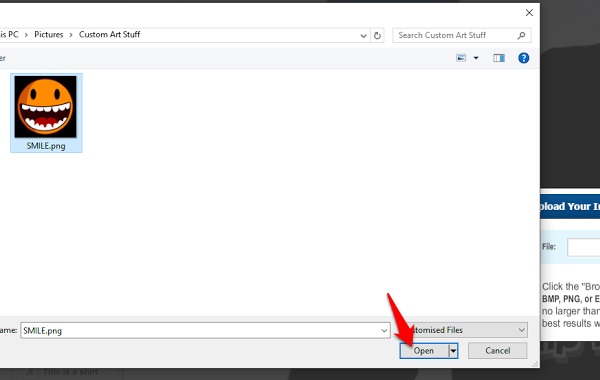
Click on “Browse” to look through your computer for some art to upload.
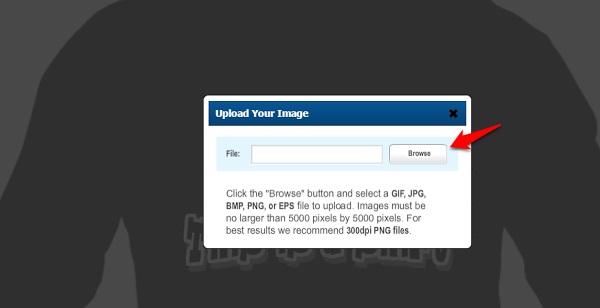
Here we are – this one looks like a good choice. Let’s add it.
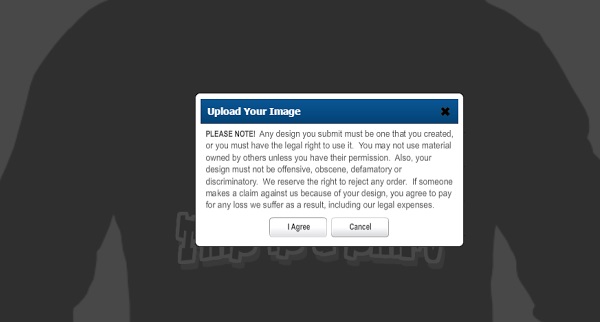
Some legal stuff – make sure you’re using something you actually have the rights to, then click “I Agree.”
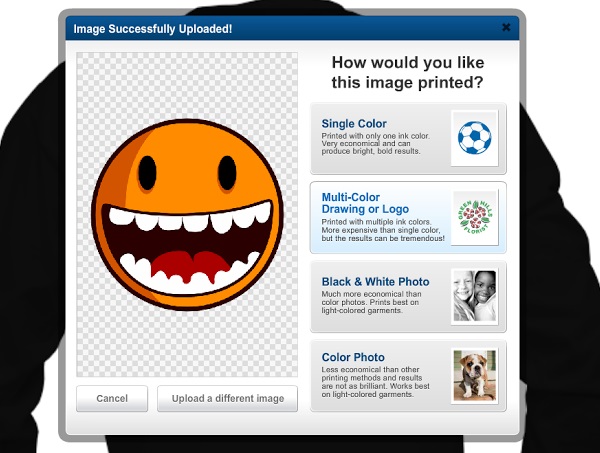
Success! Our image has been uploaded. Note that there are several options as far as how we want it printed – since it’s a multi-colored image, let’s go with Multi-Color Drawing or Logo.
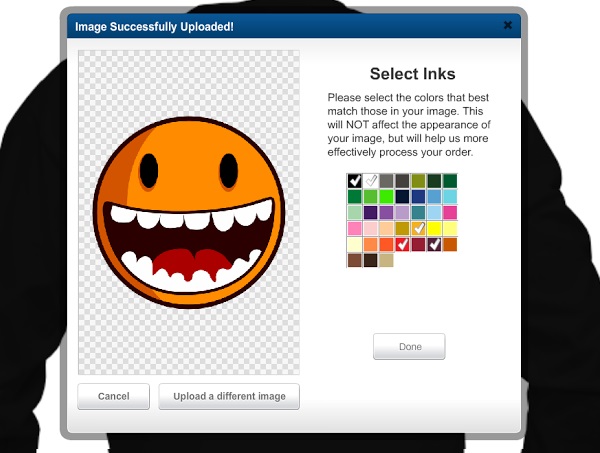
Now we need to choose some colors for the image – pretty straightforward, right? Select your colors, then click “Done” when you’re satisfied.
Nice! Our artwork is now part of our shirt!
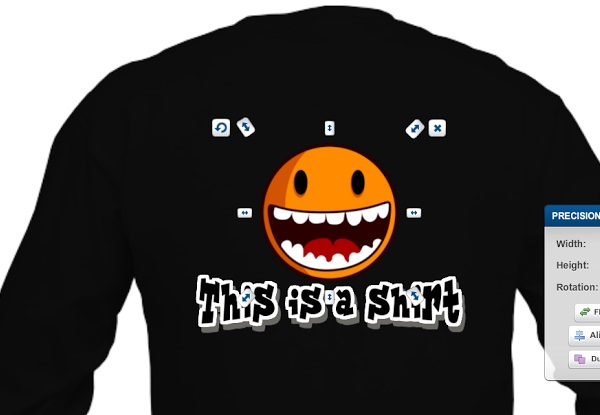
Hmm. The mouth looks a little off. Let’s make it transparent.
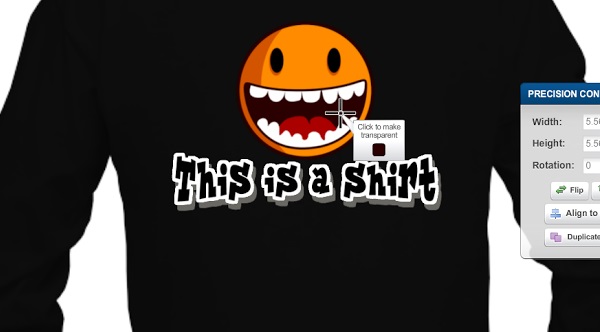
Much better!
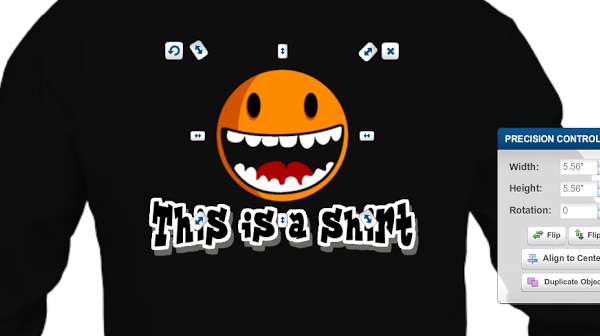
Step Five: Learning About Layers
The smiley face we added looks pretty good…but it might look better if it was behind the text. Let’s try moving it.
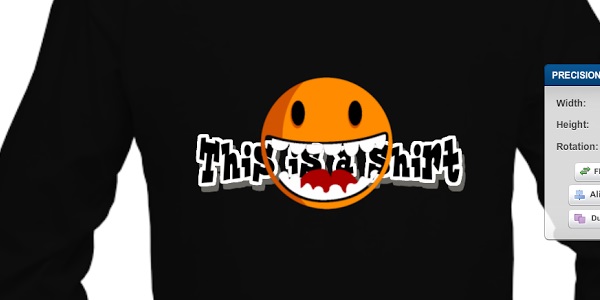
Yikes. That didn’t really work, did it? Don’t worry – we can fix this. Notice the Layers toolbox off to the left? Have a look what happens when we click the arrow next to the smiley-face.
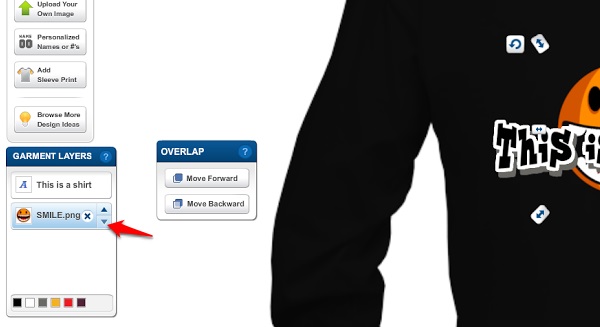
Much better! Now a bit of resizing, and we’re good to go!
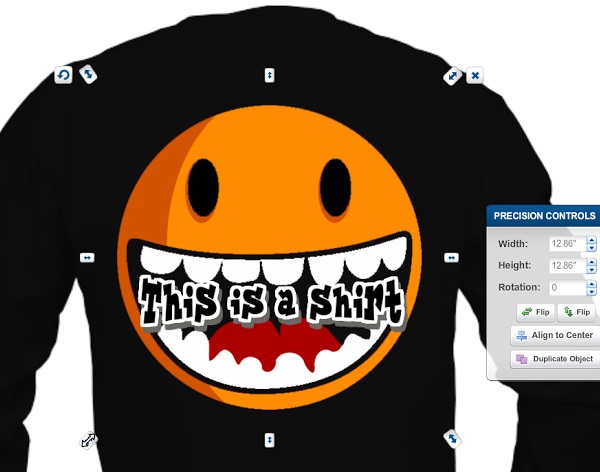
Hmm. You know what? This design doesn’t really work with what we’ve got on the front. Let’s click the X next to the smiley face to remove the layer it’s on. Then we can do the same with the text.
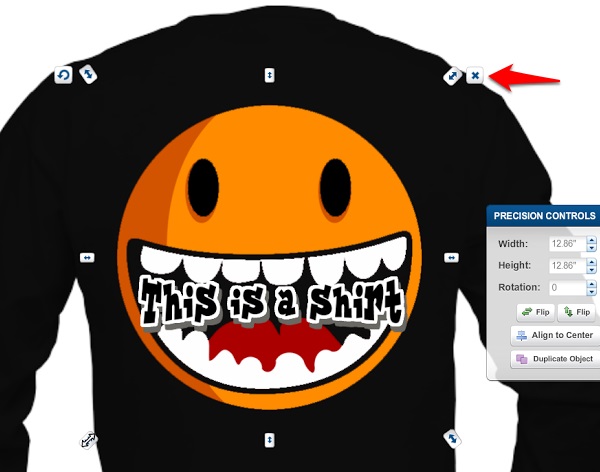
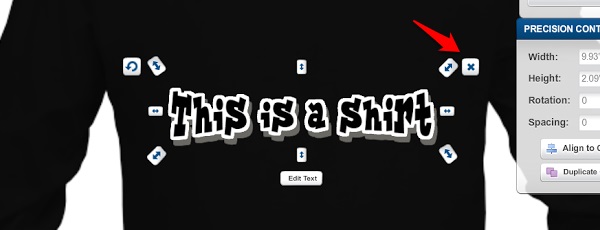
There. Now we’re left with a blank back, which fits much better with the design we’ve got on the front.
Step Six: Sizing Your Order
We’re just about done. Next, let’s decide on how many shirts we want, and what sizes.
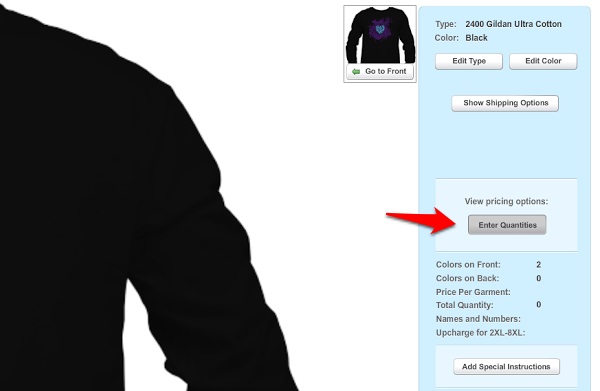
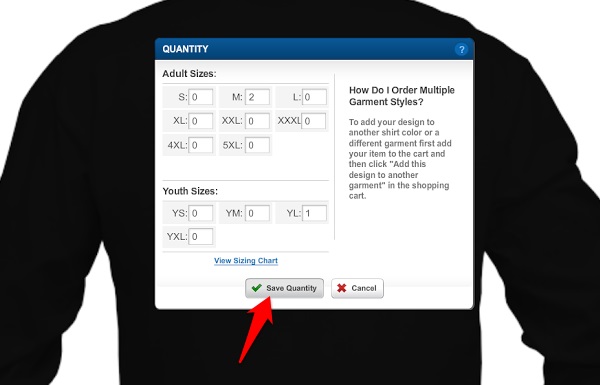
Let’s order two medium adult shirts, and one large youth shirt. Once quantities have been entered, we’ll click “Save Quantity.”
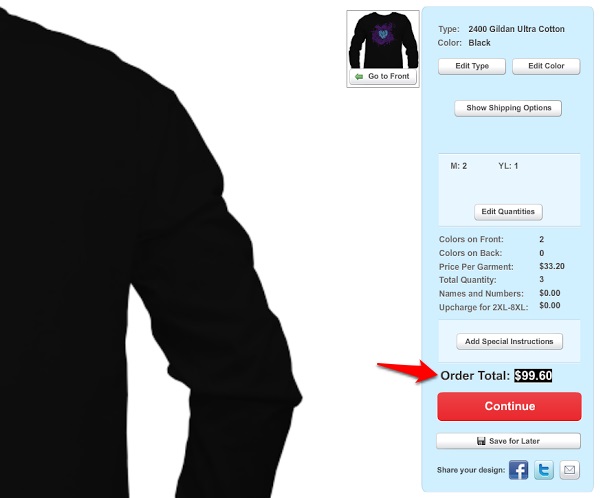
Notice how the order pricing on the right has changed?
Step Seven: Personalized Names and Numbers
Let’s say, theoretically, that we’re planning to use these shirts as a team uniform. That’s where the “Personalized Names or #’s” option comes in.
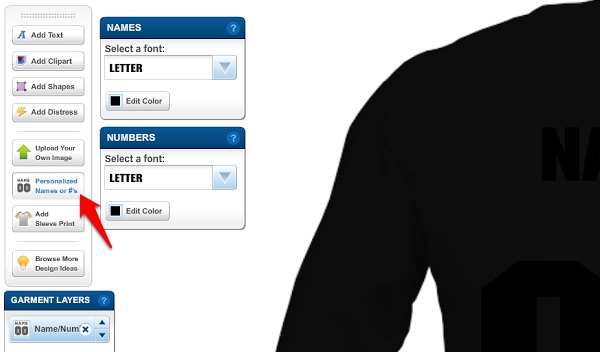
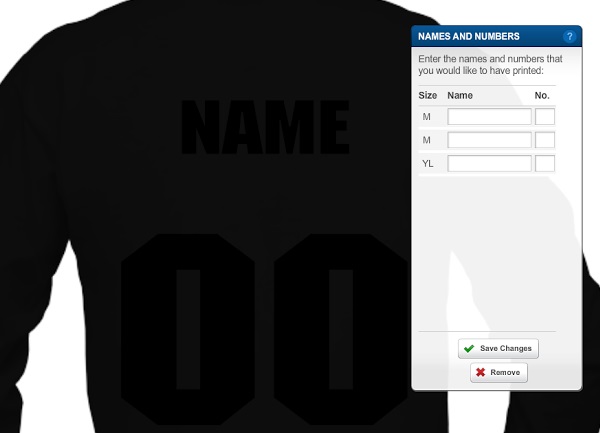
We’ll modify the look the same way we would with text.
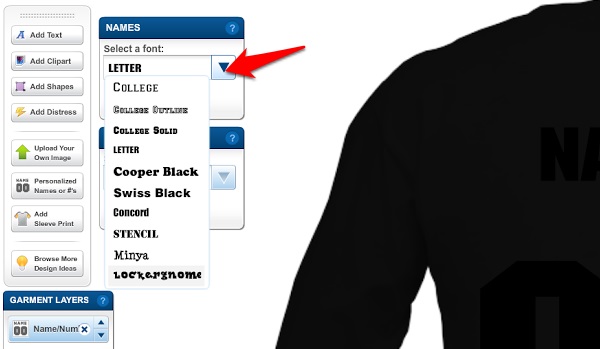
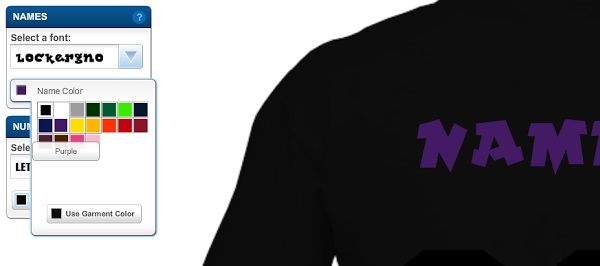
Eck. Lockergnome really doesn’t work for this, does it? Let’s go with College, instead. Better, right?
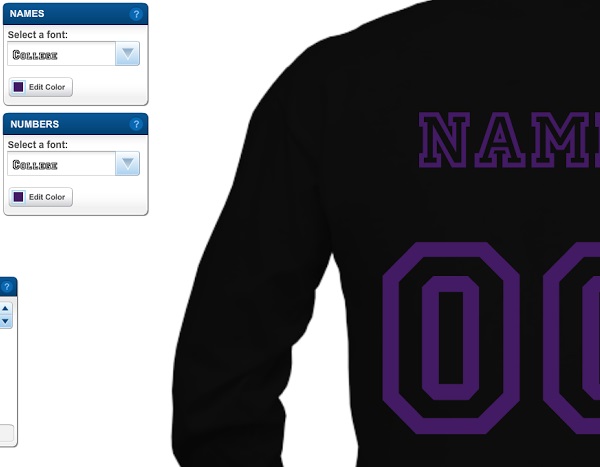
Finally, we can add names and numbers to each of the shirts.
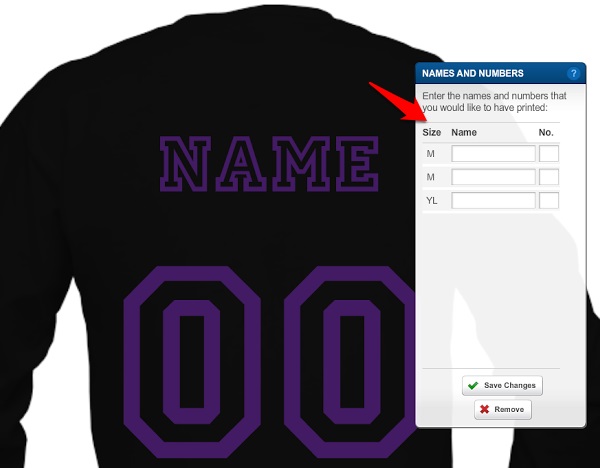
There we go! Our shirts are all ready for our team!
Step Seven: Sleeve Prints
Let’s see if we can add some custom sleeve prints to our shirts – this is a special option for orders of six shirts or more, so we’ll need to increase the size of our original purchase.
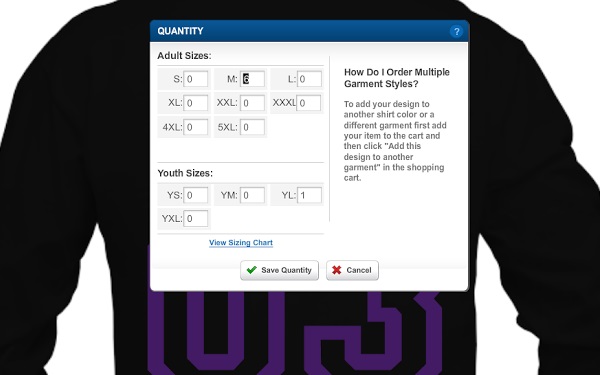
Some helpful advice!
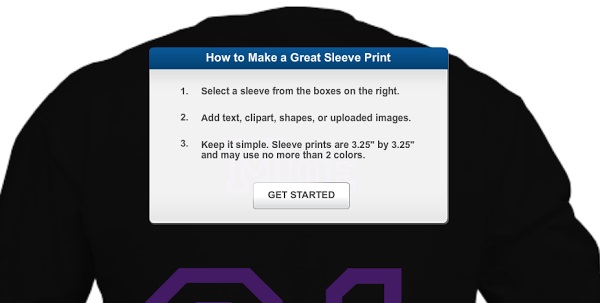
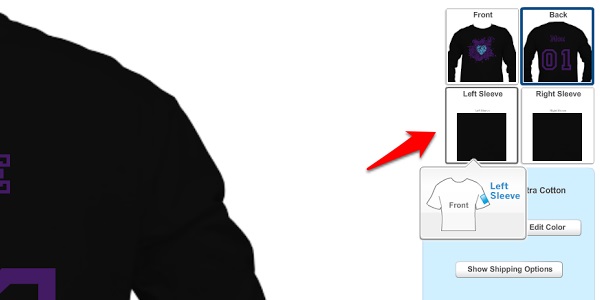
Notice how in the top right, two new boxes have appeared, one for each sleeve of our shirt.
Let’s add a bit of zazz to the left sleeve. Looks pretty bland right now, doesn’t it?
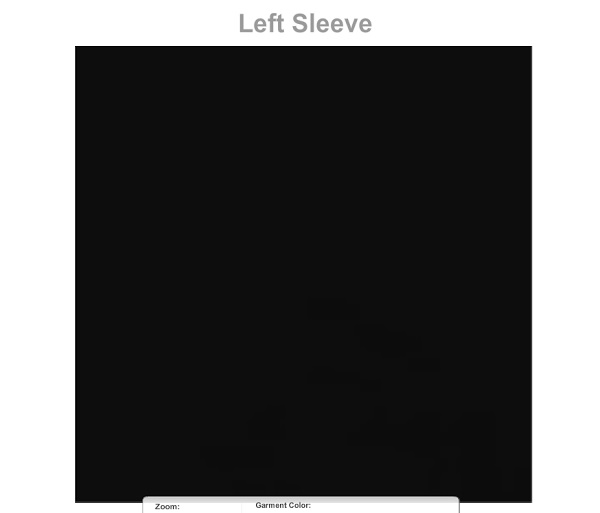
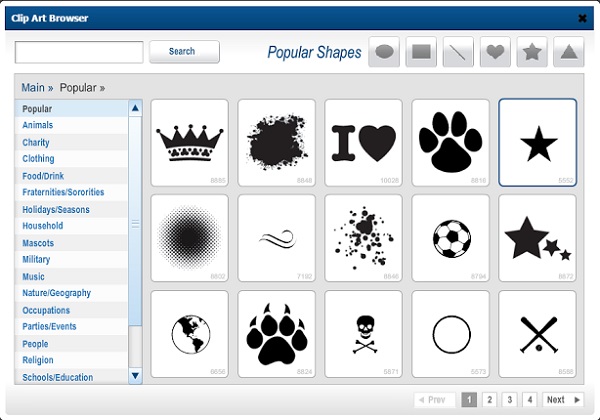
A bit of clipart should spice things up nicely.
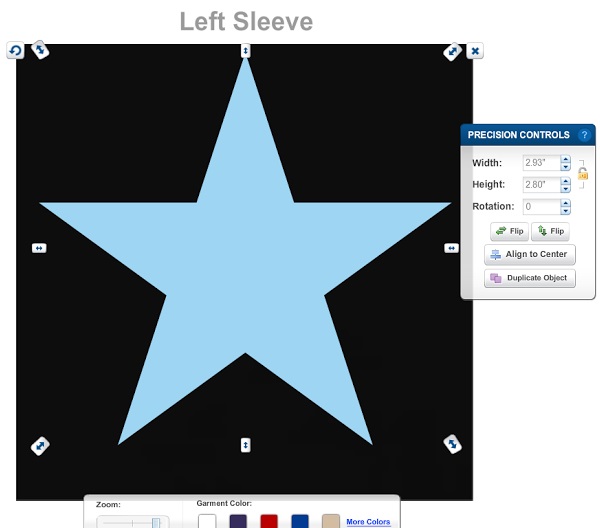
Perfect!
Now for the right sleeve, let’s upload an image. Remember the smiley-face from earlier? Let’s use it, but with a single color this time.
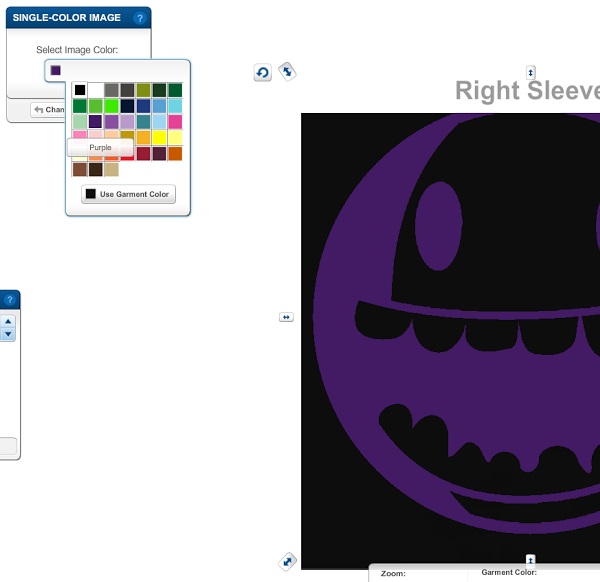
Not bad, right?
Step Eight: Shipping, Handling, and Special Instructions
Alright. We’ve got our shirts looking how we want them to. Now it’s time to figure out shipping and handling.
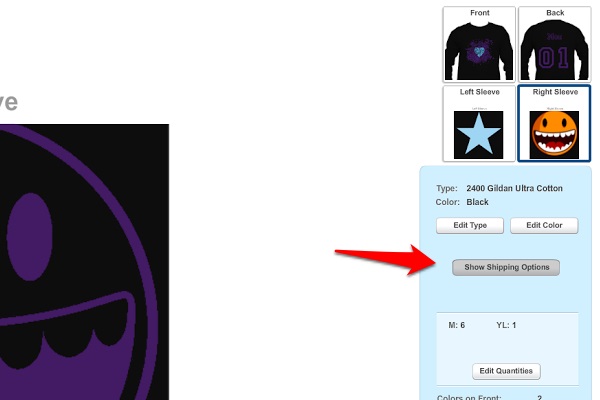
As you can see, we have two delivery options: delivery by March 28 for free, or delivery by March 21 for an extra 15%. We’ll be able to select which shipping option we want to use when we finalize our order.
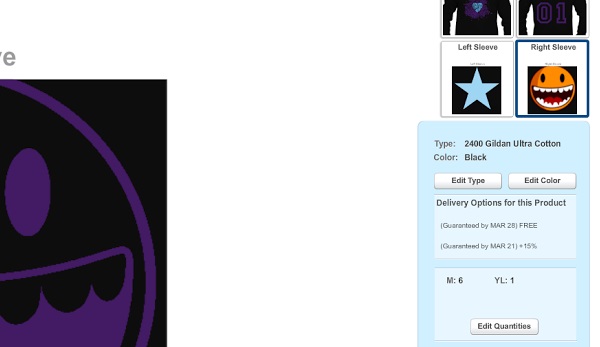
One last thing – let’s add some special instructions to our order.
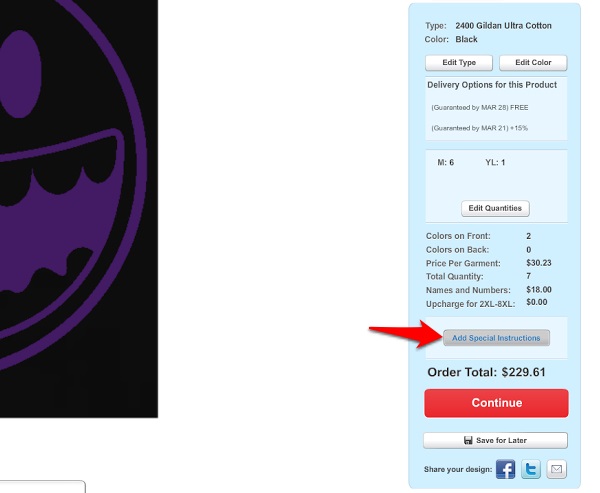
We only want Curly’s name and number on the Large Youth shirt – the six mediums will be for Moe and Larry.
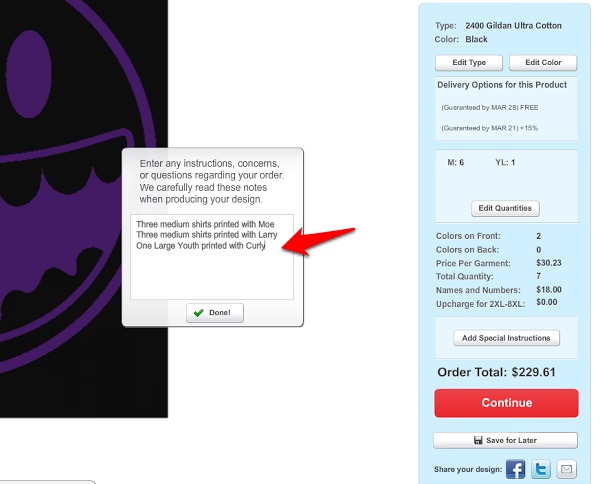
Done and done! Only one thing left to do – finalization.
Step Ten: Finalizing Your Order
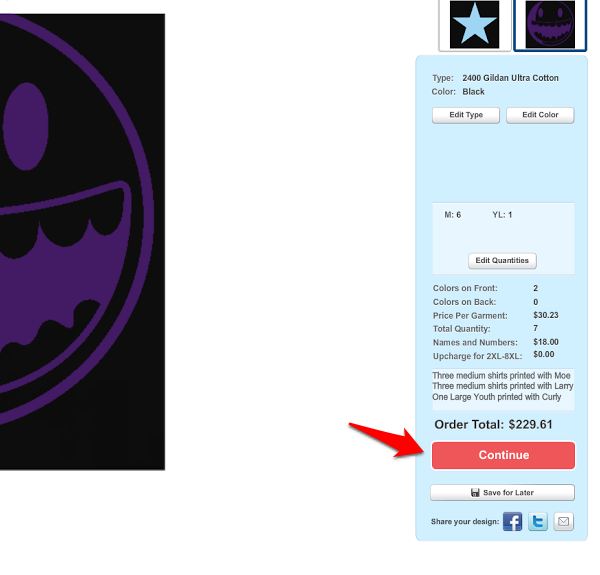
First, let’s click Continue at the bottom right.
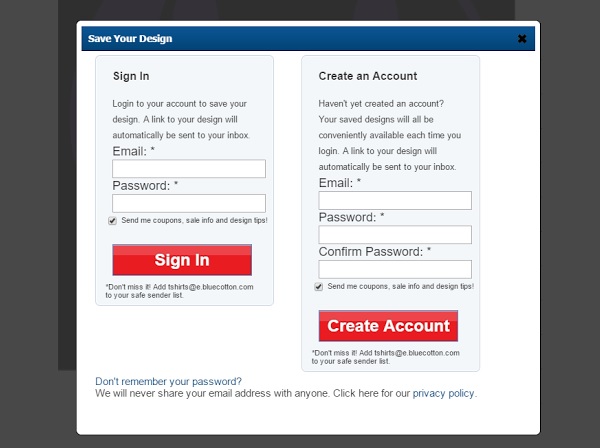
We’ll need to create an account with BlueCotton to save your design and proceed (or sign in if you’re already a BlueCotton member).
Once you’ve logged in, you’ll be taken to the following screen. As you can see, from here we can either place an order or use your design for a fundraising campaign.
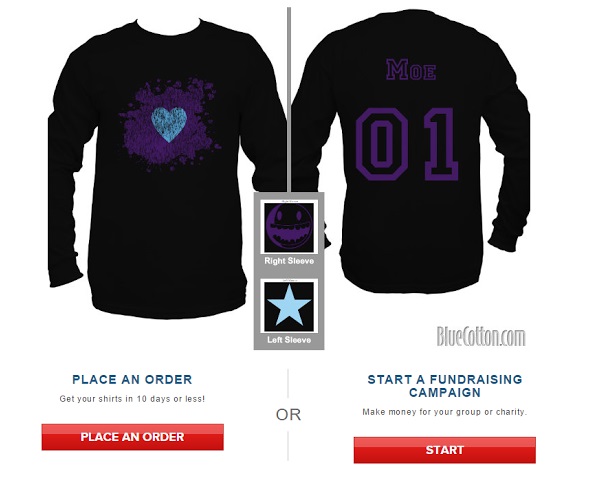
Let’s order our shirts!
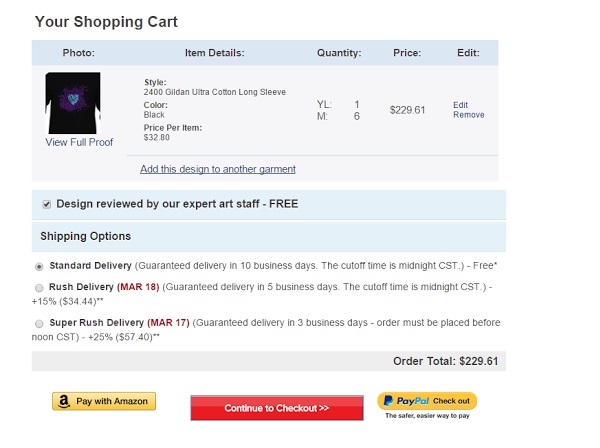
BlueCotton’s expert art staff will review our design and let us know what needs to be changed free of charge.
We want our shirts as fast as possible, so let’s select Super Rush Delivery for an additional 25%.
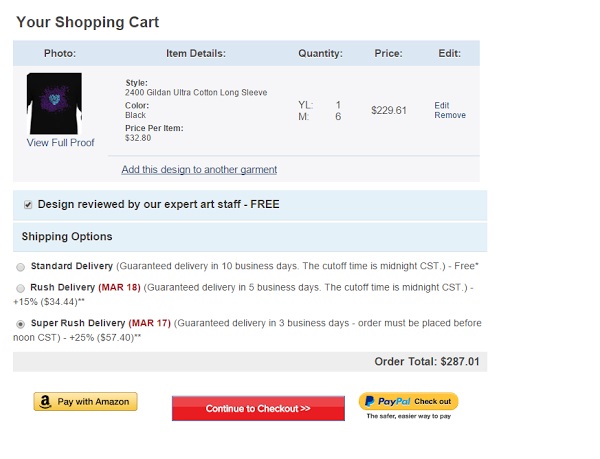
Now all that’s left to do is pay, and wait for our designs to arrive.
Closing Thoughts
And that’s it! That’s all there is to using our Design Studio! Note that the shirt we made as part of this example is actually quite simple – our software’s capable of making designs that are far more visually-complex. Why not give it a try for yourself, and see what you come up with?
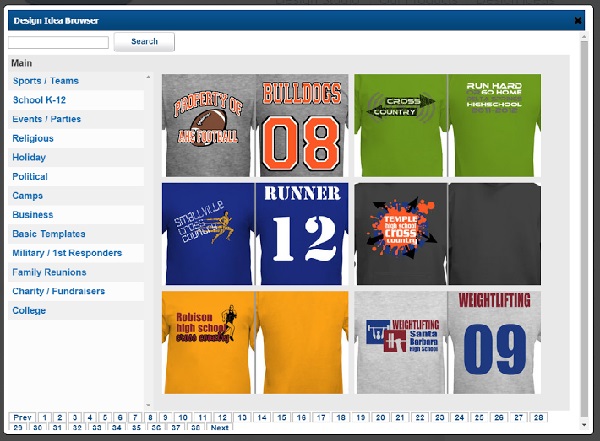
If you’re looking for some inspiration, we’ve even got a Design Idea Browser you can explore, shown below!
So…what are you waiting for? Get out there, and start creating!